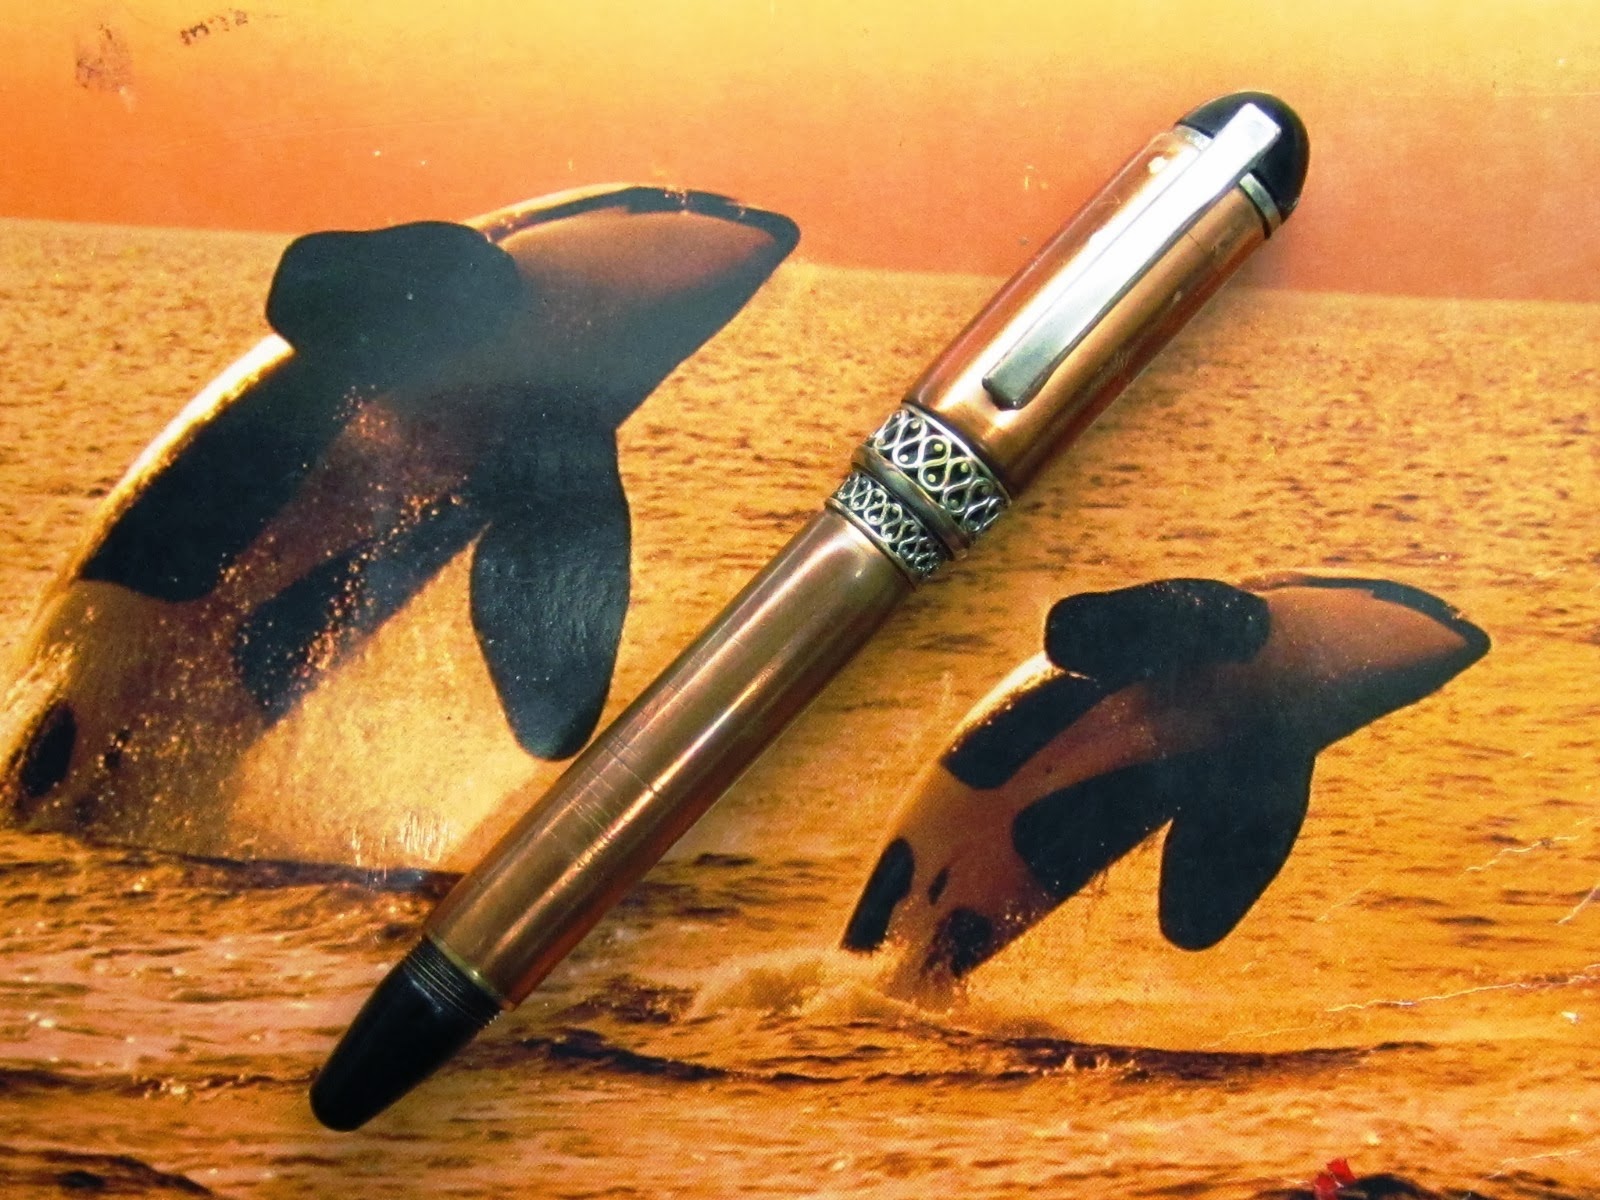
All brass Kit-less Hooded Nib pen.

Just complteted this pen today. This is the third and last of the semi-finished brass pens I had brought home from the ship.
.JPG) This is the semi-finished body I started with. The jobs done were : a) Fitting a nib / feeder set b) Fitting a clip c) Adjusting all fits and finish and d) Fine surface polish.
This is the semi-finished body I started with. The jobs done were : a) Fitting a nib / feeder set b) Fitting a clip c) Adjusting all fits and finish and d) Fine surface polish.
The conical section of the nib hood was drilled to 8 mm due to my ignorance, ideally all chinise pens are fitted with 4 mm diameter nibs [ with of course a separate conical acrylic feeder], pity I did not know at time of machining!.
Now this was a damage control job. I used a regular open type nib and feeder sourced locally, and that combo went in loose, being 6.3 mm. To make up for the left over 1.7 mm I wrapped around strips of cellotape, taking measurement in between.
Once the combination was fitted tight inside the section , I fitted the converter at the other end of the section. Water-tightness tested with water, found working normal.
The excess part of the feeder protuding at the back side of the section , along with slight protrsions at the shoulders of the nib , were ground off using a carbide cutter in a die grinder to match the contour at the reverse side of the section. I liked the final look.

For the clip , I had some part finished brass clips without the ring. To fit this at top of the cap, I toyed with many ideas, but finally settled for this! Using the die grinder a recess same in size as the butt of the clip was made and then filled up with CA and the clip butt press fitted into the recess.
To my surpize the bonding was strong and the brass clip even has a little spring action.
The body had many machine marks and small dents. Tried to remove those as best I could using filing, sanding , smooth sanding up to grit 12000 and finally brasso polish.
No the surface finish is not perfect, meaning I would not dare to try selling this pen.!!
No the surface finish is not perfect, meaning I would not dare to try selling this pen.!!
Happy to see the way this regular sized pen finally turned out, I would preserve it as a memento and a prototype.
Hope the viewers like this pen. Please let me have your comments / ctritiques.


Details of the Section part :


.JPG)


.JPG)
.JPG)
.JPG)
.JPG)


.JPG)